A smart bike GPS setup keeps your route tracking clean and accurate. A solid mount helps cut shaky readings. Clean sensors and the right wheel setup keep the data steady. Good satellite settings finish the job and make your ride stats look right.
How Smart Bike GPS Accuracy Is Measured
When you want to measure smart bike GPS accuracy, you look at how closely your device follows your real ride, and that starts with position, speed, distance, and elevation.
You can judge it using accuracy metrics that compare your recorded route with a known path or map.
Your device uses signal sources like GPS, GLONASS, Galileo, or BeiDou, and each one helps reduce drift whenever the ride gets tricky.
Then barometric altitude, wheel sensors, and accelerometers can fill in gaps whenever satellites fade.
You might see small errors near trees or tall buildings, but steady tracking still tells you a lot.
Whenever your numbers stay close from ride to ride, you’re getting the reliable data you need to feel confident out there.
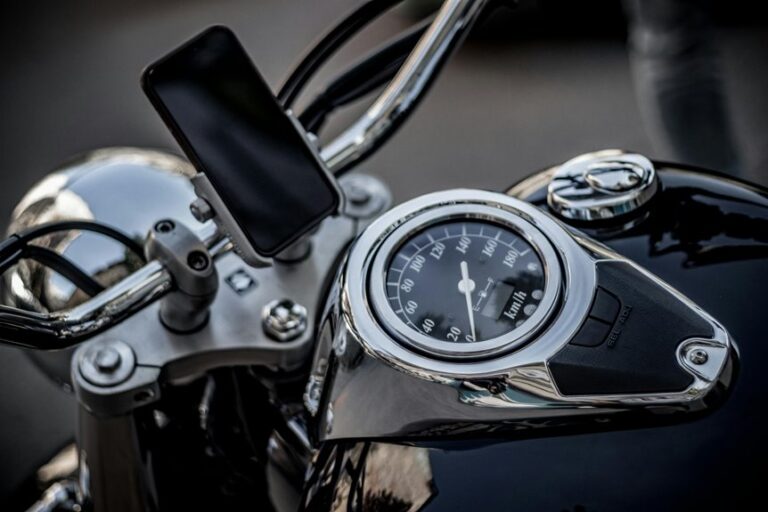
Choose the Best GPS Mount
The right GPS mount can make your ride feel calm and controlled, because it keeps your bike computer steady, easy to read, and ready to track every turn. You want one that fits your bar shape, locks in tight, and doesn’t wobble when the road gets rough. Strong mount durability matters, especially whenever you ride often or in wet weather. Good vibration damping also helps keep the screen clear, so you can glance down without losing confidence.
| What to check | Why it matters |
|---|---|
| Firm lock | Stops unwanted movement |
| Solid materials | Supports long-term use |
| Smooth damping | Reduces screen shake |
| Clean fit | Builds trust on every ride |
Whenever your mount feels secure, you join the road with less stress and more focus.
Set Up Bike GPS Sensors Properly
Set your bike GPS sensors up with care so your data stays steady from the start.
Check sensor alignment, confirm wheel size calibration, and make sure every mount feels snug before you ride.
As each piece sits in the right spot, you’ll get cleaner speed, distance, and elevation readings with less guesswork.
Sensor Alignment Tips
Even a great bike GPS can feel “off” when your sensors aren’t lined up right, but the fix is usually simple and worth the few extra minutes.
Start with sensor pairing, then check that each unit sits straight and snug on the frame or crank. If a speed or cadence sensor twists, your ride data can drift and make you doubt your setup.
Next, use alignment calibration in the app or head unit, and watch for a clean signal before you roll out. You’ll feel more at ease whenever the numbers match your effort, because that trust makes every ride smoother.
Also, wipe away dirt and recheck the fit after rough roads, since small shifts happen. A calm, careful setup helps you ride with your crew.
Wheel Size Calibration
After you’ve lined up your speed and cadence sensors, wheel size calibration is the next step that helps your bike GPS tell the truth about your ride. You’ll feel more confident whenever distance, pace, and average speed match the road under you.
Start with your tire circumference basics, since tire pressure and tire wear can shift the number a little. Then use wheel circumference measurement from the sidewall chart, or better yet, mark the valve, roll one full turn, and measure the ground path. Enter that value into your device with care.
Should you ride with friends, compare results after a familiar loop. Small changes matter here, and that’s okay. Whenever you dial this in, your data feels closer to the ride you lived.
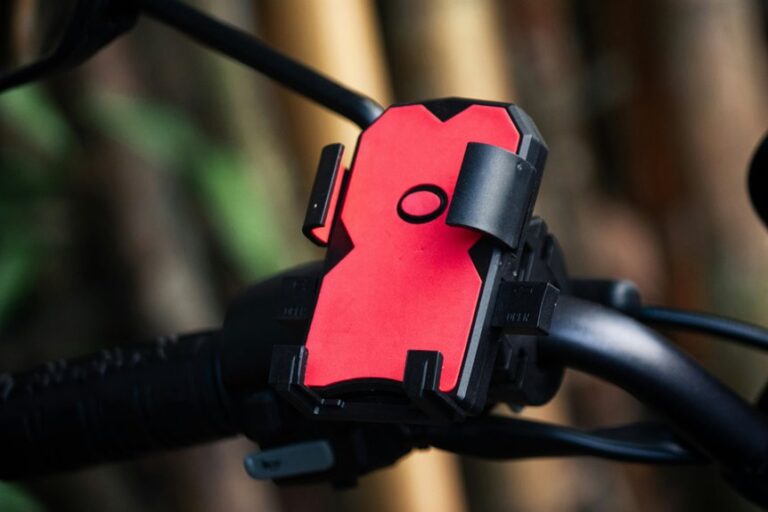
Secure Mount Placement
Whenever you mount your bike GPS and sensors securely, you give every ride a steadier starting point. You’ll feel it fast, because a firm setup cuts mount vibration and keeps your data cleaner on rough roads and trails.
Choose a spot with enough handlebar clearance so the unit doesn’t bump brake hoses, bells, or your hands. Tighten the mount just enough to stop wobble, then check that the screen faces you clearly.
Next, place wheel, cadence, or speed sensors so magnets and pods line up without rubbing. Unless you ride hard, use fresh straps or rubber inserts, since tired parts slip.
A solid fit helps you stay confident, and that’s a nice feeling whenever your group rolls out together.
Calibrate Wheel Size and Distance
To get your smart bike setup truly accurate, start with calibrating wheel size and distance, because GPS alone can’t always catch every twist in your ride. You’ll feel more at home on the road when your numbers match reality.
Enter the correct wheel circumference setup in your bike computer, then test it on a known stretch. Use distance calibration methods like measuring a track lap, checking a marked trail, or comparing against a trusted mapping route.
Provided your device offers manual adjustment, fine-tune it after each test ride. Small changes matter, especially when you want steady pace data and a clean ride log.
With a careful setup, you can trust your stats, share smoother routes, and ride with the quiet confidence of someone who belongs out there.
Pick the Right Satellite Settings
Which satellite setting should you use? You’ll usually get the best track via choosing multi band settings whenever your device offers them. They help you stay steady under trees, near buildings, or on winding trails where a lonely GPS signal can wobble. Then, match your satellite constellation choice to where you ride.
- Use GPS plus Galileo or GLONASS for strong everyday coverage.
- Turn on BeiDou or QZSS whenever your device supports them and you ride in regions where they help.
- Keep the full mix for tough terrain, because your bike crew deserves clean lines and fewer map zigzags.
Should battery matters more on a long day, you can switch to a simpler mode and still ride with confidence. That way, your setup fits your pace, your terrain, and your people.
Get a Faster GPS Signal Lock
A strong satellite setup helps, but a fast lock starts before your wheels even roll. You can speed up startup satellite lock by stepping outside, clearing your view of the sky, and waking the device a few minutes earlier.
That pause gives it time for quick signal acquisition, so you’re not waiting at the curb like you forgot the route. Keep the unit updated, because fresh satellite data helps it find your location sooner. Should your bike computer supports multi-band GNSS, turn it on for better lock under trees or near tall buildings.
Then save your ride profile and let the device finish searching before you hit the pedals. That small habit makes you feel ready, connected, and part of the group from the opening mile.
Reduce Route Drift and Tracking Gaps
You can cut route drift by keeping a tight GPS signal, especially when trees, buildings, or hills try to throw your device off course.
When your tracker stays locked on, your line looks cleaner and your distance feels more true, not like it took a tiny detour for coffee.
You can also prevent tracking gaps by using strong GPS settings and the right sensors, so your ride keeps flowing even when satellite reception gets shaky.
Tight GPS Signal
As soon as your GPS signal stays tight, your bike ride feels smooth, clean, and far less frustrating. You can trust the screen more, and that makes you feel like you’re riding with the group, not chasing it.
Tight signal starts with smart setup:
- Check signal obstruction from trees, buildings, and your body.
- Choose antenna placement on your bike computer or watch for open sky.
- Give the device a clear view before you roll out.
When you do this, your track stays steady, and your stats match the road better. A solid lock also helps your route look more like your real ride, so you spend less time second-guessing and more time enjoying the miles with your crew.
Minimize Route Drift
As your route starts to drift, the ride can feel messy fast, but the positive news is that you can usually fix it with a few smart setup moves.
You should start by mounting your device where it sees open sky, then choose multiband GNSS if your unit offers it. That helps in urban canyon effects, where tall buildings bounce signals around. Next, pair a wheel sensor so speed stays steady when GPS wanders. Keep your firmware current, too, because updates often improve map matching and track smoothing. If you use a barometric altimeter, calibrate it before long climbs, since weather based elevation drift can nudge your elevation line off. With these steps, you’ll ride with more confidence, and your track will feel like it belongs to the road.
Prevent Tracking Gaps
Tracking gaps can feel even more frustrating than a little route drift, because one missing signal can make your ride look chopped up and messy. You’re not alone when this happens, and you can protect signal continuity with a few smart moves. Start with:
- Turn on multiband GPS for stronger dropout prevention under trees and buildings.
- Use a wheel sensor so speed keeps logging when satellites fade.
- Choose every second recording and do a quick GPS soak before you roll.
Next, keep your device mounted where it can see the sky, not buried under layers or bags.
Should you ride in rough areas, let your bike computer do the heavy lifting instead of your phone.
That way, your route stays smooth, your stats stay honest, and you stay in the crew that gets clean tracks.
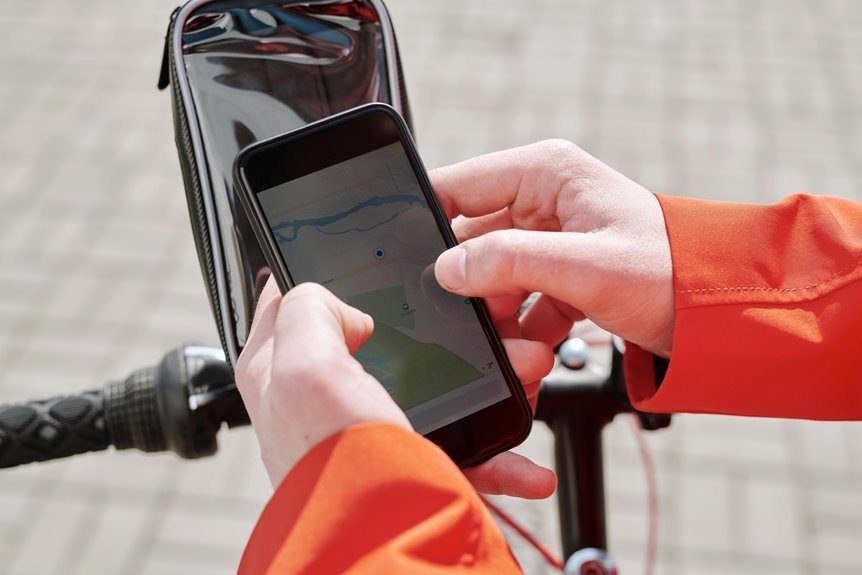
Match Maps and Routing to Your Ride
Which map and route style fits your ride best? You belong on a setup that matches your road, trail, or commute. For route type selection, choose turn-by-turn guidance for city streets, breadcrumb trails for dirt paths, and round-trip routing when you want simple fun. Next, check your map detail preferences so the screen feels clear, not crowded.
| Ride style | Best map type | Why it helps |
|---|---|---|
| City commute | Street map | You spot turns fast |
| Gravel group ride | Topo map | You stay calm on rough paths |
| Trail session | Breadcrumb map | You feel part of the line |
Whenever your maps fit your ride, you trust every cue. That trust keeps you connected to your crew and makes each mile feel smoother.
Adjust Recording Intervals for Cleaner Data
A steady recording interval can make your ride data feel much cleaner, and that matters more than it sounds. Whenever you set a smoother pace for recording, your track looks less jumpy and more like the ride you felt.
- Use every second recording for most rides. It improves recording interval smoothing and keeps turns, climbs, and stops easier to read.
- Check data point density before long routes. Higher density helps tight roads and trail lines stay crisp without extra clutter.
- Switch to a lighter interval only whenever you truly want to save battery. You’ll still stay part of the same riding crew, just with a simpler trace.
Once you find that balance, your stats feel easier to trust, and your ride story comes through with less noise.
Fix Common Smart Bike GPS Errors
Why does your smart bike GPS sometimes act like it’s lost in the woods? You’re not alone, and most common gps glitches have simple fixes. Start by checking your view of the sky, then move your device away from metal, thick pockets, and other gear that can block signals. If route lines drift, pause for a fresh lock before you roll. For fixing signal errors, this quick check helps:
| Problem | Fix |
|---|---|
| Slow lock | Wait still before starting |
| Drift | Ride in open space |
| Dropouts | Mount higher on the bike |
| Wrong distance | Pair a wheel sensor |
| Spotty track | Recheck GPS mode |
When you treat these errors like normal ride hiccups, you stay calm and keep your crew vibe strong on every route.
Keep Your Bike GPS Software Updated
Keeping your bike GPS software updated helps you hold onto better accuracy, smoother routing, and fewer annoying glitches on the road.
You should install firmware updates regularly because they can improve satellite handling, sensor support, and map performance.
Should your device offer auto software updates, turn them on so you don’t miss the fixes that keep your rides on track.
Update Firmware Regularly
Regularly updating your bike GPS firmware can make a bigger difference than many riders expect. You keep your device in step with new fixes, smoother tracking, and better sensor behavior, so your rides feel more reliable and less frustrating. Before you update, read the firmware release notes so you know what changed and why it matters. Then do version compatibility checks with your bike computer, sensors, and phone app.
- Confirm your current version.
- Match it with supported accessories.
- Install the update, then test a short ride.
Whenever you stay current, you help your riding crew trust the data they share, compare, and celebrate. That sense of being in sync matters on every route.
Small updates can quiet glitches, sharpen GPS response, and keep your setup feeling familiar, even whenever the tech changes quietly in the background.
Enable Auto Software Updates
Once you turn on auto software updates, your bike GPS can stay ready without you babysitting every new patch.
You’ll get fixes for maps, sensors, and routing as soon as they’re released, so your rides feel smoother and safer. That matters whenever you’re part of a group and want your device to keep up, not hold you back.
Check your auto update checks in the app, then set firmware notification settings so you know whenever a restart or charge is needed.
Whenever you ride often, let updates install overnight on Wi-Fi, and keep your battery above halfway.
This way, you’re not stuck with old bugs on race day. A few taps now help you trust your gear later, and that confidence is part of the ride.
Test GPS Accuracy on a Short Ride
Before you trust your bike GPS on a long ride, test it on a short loop so you can see how it behaves in real life. You’ll feel more at ease when you compare your device with the road you know. Use simple gps accuracy test methods and note short ride comparison metrics like turns, distance, and delay at stoplights.
- Ride past clear landmarks and check if the map stays on track.
- Watch how fast speed and distance settle after each corner.
- Compare elevation changes with what you see on the route.
If your line wobbles a bit, don’t panic. Every device can drift, and that’s normal. What matters is whether it stays close enough for your crew’s weekend rides and local climbs, where shared trust in your gear really counts.
Maintain Accurate Tracking Over Time
To keep your bike GPS accurate over time, you need to treat it like a small but picky teammate that performs best with steady habits. You should charge it with care, since battery maintenance affects signal strength and helps protect device lifespan. Keep firmware updated, because makers often improve GPS fixes and sensor pairing. After wet or muddy rides, clean contacts and mounts so nothing wobbles or blocks reception. Then check wheel sensors, barometric settings, and app syncs before your next ride.
Whenever you ride under trees or in city streets, let the device get a full signal lock before rolling out. Also, store it in a cool, dry place once you’re done. Those simple routines help you stay in the same reliable riding group every time.
Frequently Asked Questions
Does Weather Affect Barometric Elevation Readings on Bike GPS Devices?
Yes, changes in air pressure from weather can affect your bike GPS barometric elevation readings and cause calibration drift. To reduce errors, recalibrate before each ride so your climb data stays more accurate.
Can Wheel Sensors Improve Tracking When GPS Signal Drops Out?
Yes, your wheel sensor can keep tracking steady when GPS drops out. It provides wheel based backup and cadence data, so you still get more stable speed and distance readings.
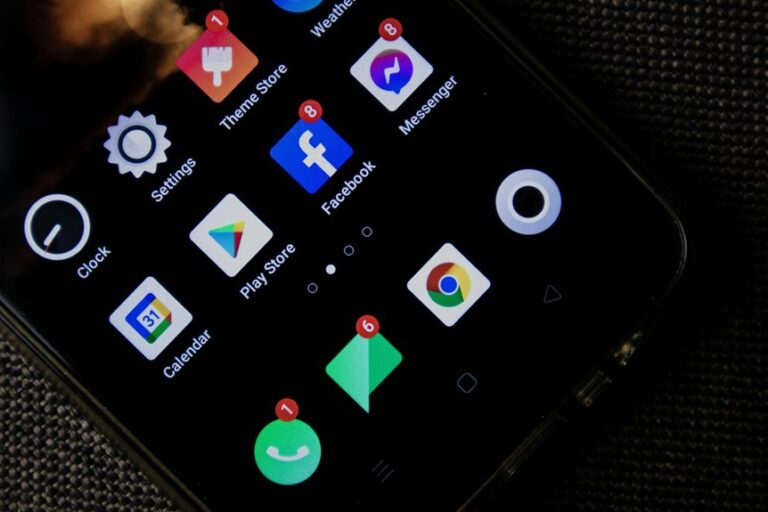
Which Navigation App Works Best for Elevation Charts on Smartphones?
Komoot shows detailed elevation charts on smartphones, with clear climb profiles, topographic route maps, and simple route planning. It helps you track rides and share climbs with your group.
Do Multiband GNSS Devices Use More Battery During Long Rides?
Yes, multiband GNSS usually uses more battery during long rides because it does extra signal processing. Still, that tradeoff can be worth it: when you ride under trees, you get steadier tracking and more reliable position data.
Can Bike Computers Sync Ride Data Directly to Trainingpeaks?
Yes, many bike computers can sync ride data directly to TrainingPeaks through automatic upload features. Once connected, your rides can appear in TrainingPeaks shortly after you finish.