A smart bike power meter needs a careful setup to stay accurate. Heat, movement, tire pressure, and drivetrain wear can all change the numbers. Put the bike on level ground and wake the meter before you ride. A quick zero offset check helps keep your data honest.
What Smart Bike Power Meter Calibration Does
Calibration is the quiet reset that keeps your smart bike power meter honest. You use it to clear the zero offset, so your meter knows what true no load looks like.
That matters because small sensor drift can creep in with heat, time, or a bump in the road, and your numbers might start to wander. Once you calibrate, you help the meter stay loyal to your effort, not the noise around it.
You also make your training feel fair, which matters once you ride with a crew and want every watt to count. In short, calibration keeps your data steady, your progress clear, and your ride community confident in the same language of power.
Prepare Your Bike for Calibration
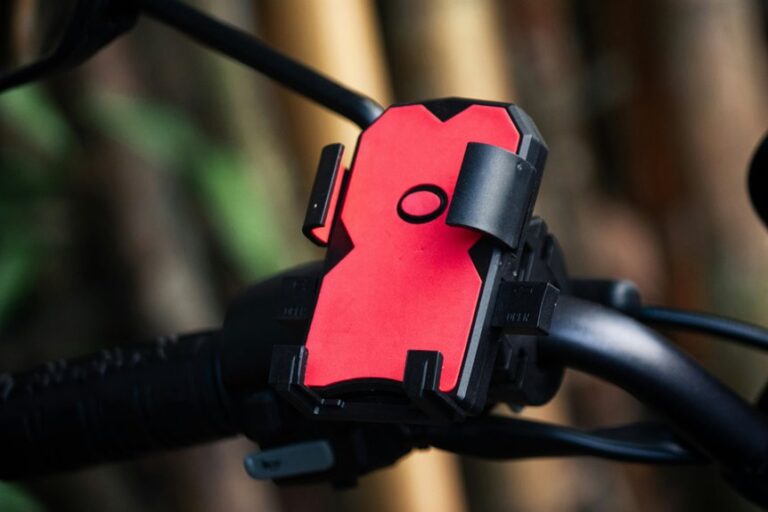
Before you zero out your meter, you need to set the bike up so the reading has a clean starting point. Park your bike on level ground, and keep it still so nothing nudges the sensors. Rotate the cranks two full turns to wake the meter, then place one arm at 12:00 and the other at 6:00. This gives you a steady position and helps you feel like you’re doing it right with the crew.
Next, finish your firmware update prep in the app, and make sure Bluetooth is on with a solid signal. Do a battery status check, too, since a weak battery can throw things off. Finally, confirm the meter pairs with your head unit, and keep the bike unloaded before you move on.
Check Zero Offset Before You Start
Once your bike is set up and the meter is awake, you’ll want to check the zero offset so you know the reading starts from a clean baseline. This quick pre ride sensor check helps you trust the numbers and join every ride with confidence. After your battery wake routine, keep the bike still, then read the offset in your head unit or app. Should it look unusual, pause and inspect the setup before you roll.
| Step | What you do |
|---|---|
| 1 | Wake the meter |
| 2 | Keep the bike still |
| 3 | Check the offset |
| 4 | Record the result |
A steady zero offset means your power data is ready for the road, and your ride crew gets clean, honest stats together.
Calibrate the Power Meter
Now that you’ve checked the zero offset, it’s time to calibrate the power meter so the reading matches real riding conditions.
Keep your bike still, wake the cranks with two slow turns, then open your app and confirm the sensor is connected. If you hit app connection troubleshooting, toggle Bluetooth, move closer, and try again.
Next, run the calibration command and wait for the success message. If your model offers firmware update timing, install updates first, since fresh software can improve accuracy. For dual-sided units, follow the app prompts for each side.
Stay calm if the numbers look odd at first. You’re not doing anything wrong, and your setup team wants this to feel easy. Once it’s done, you can trust the data more.
Set Tire Pressure and Drivetrain Conditions
Start by setting your tire pressure to the same level you’ll use on real rides, because even small changes can affect how your bike feels and rolls.
Then check that your drivetrain is clean, since grit and buildup can add drag and throw off your setup.
You should also make sure your chain is well lubricated, so the bike runs smoothly and your power meter setup stays as consistent as possible.
Tire Pressure Consistency
Tire pressure plays a bigger role in power meter accuracy than many riders expect, so you’ll want to set it before you calibrate.
When your tires match your normal ride setup, your readings feel more like your own numbers and less like guesswork.
Do pressure consistency checks on both tires before every calibration, and use the same gauge each time.
Small changes can come from temperature related pressure drift, so check pressures indoors if possible and let the bike sit a few minutes.
You should also keep the bike unloaded and stationary while you prepare.
That steady setup helps your power meter settle in cleanly, and it gives you the confidence that your data belongs to the ride you’re planning, not to a random air shift.
Clean Drivetrain Check
Provided you want your power meter to give you clean, steady numbers, you need to give the whole drivetrain a quick check before you calibrate. You’re looking for a smooth setup that helps the whole crew of parts work together. Set tire pressure earliest, then inspect the chainring, cassette, and rear derailleur for grit or damage.
| Check | What to do |
|---|---|
| Tire pressure | Match your normal ride setting |
| Drivetrain wear | Look for hooked teeth or stretched chain |
| Cassette cleaning | Wipe away dirt and old buildup |
A dirty cassette can throw off feel and make your bike act moody. Should you spot heavy drivetrain wear, handle that before zeroing the meter. As the bike runs clean, you’ll feel more confident and your data will stay calmer. Keep it simple, and you’ll fit right in with riders who trust their numbers.
Chain Lubrication Status
With the drivetrain already checked, you can now look at chain lubrication status because a dry or sticky chain can mess with how the bike feels during setup. You want chain lubrication to look even and quiet, not gunky or shiny in patches. Should the chain squeaks, grabs, or leaves black buildup, drivetrain friction climbs and your power meter setup can feel off.
Wipe away extra lube, then add a light coat to each link and let it sit. After that, spin the cranks by hand and listen for smooth motion. Also, check tire pressure now, since a stable bike helps you trust every reading.
As the chain moves freely, you feel more in control, and that calm, ready-to-ride feeling makes calibration day easier for everyone on the same road.
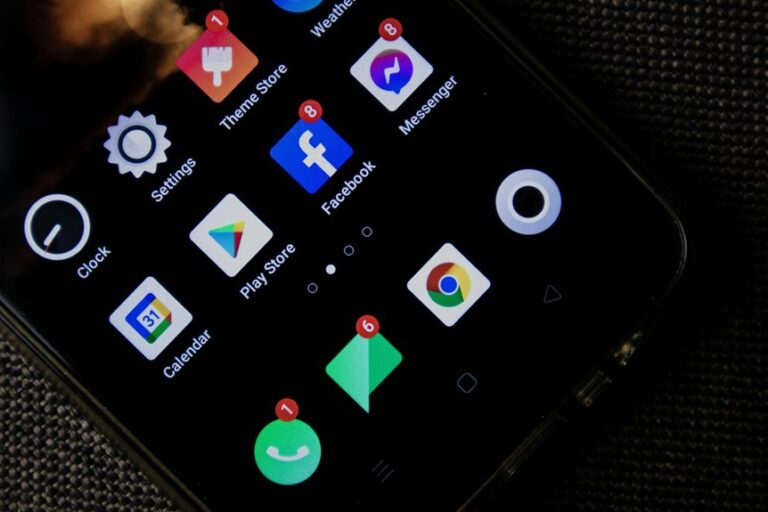
Pair the Meter With Your Training App
Before you start riding, pair your power meter with your training app so the device can send clean, reliable data every time you pedal. Open the app, add the sensor, and follow the app pairing workflow with care. Keep Bluetooth on, stay close to the bike, and let the app find the meter without rushing.
Next, finish the sync permissions setup so the app can save rides and share numbers with your head unit. Whenever you ride with a club or coach, this step helps you feel included in the same data stream they trust.
Once connected, name the meter clearly, then save the bike profile. That small step keeps your setup neat, and it saves you from future guesswork whenever you’re ready to roll.
Verify Accuracy With a Short Test Ride
If your setup feels right on the app, a short test ride can show you whether the numbers agree out on the road. You’re not chasing perfection here, just honest ride data validation that helps you trust your meter.
Use a short test protocol: ride easy for a few minutes, then add steady pressure on the pedals. Watch for smooth power changes, normal cadence, and any jumps that feel off.
When the app stays steady, you’re on the right track and part of the same riding crew. When the readings match your effort, you can relax and ride with more confidence.
Keep the effort short, focused, and calm, so your setup has a clean chance to prove itself before you head farther.
Fix Common Calibration Errors
Calibration errors can feel annoying, but they usually point to a simple fix, not a broken meter. You belong here, and you can sort this out. Initially, keep your bike still, with the cranks vertical and nothing touching the pedals.
Then check pairing, because a weak link to your head unit can trigger error messages. Next, confirm the battery has enough power and the firmware is current. Whenever the app still complains, run calibration troubleshooting with a clean zero reset and wait for the success notice.
Also, make sure you’re using the right app path for your meter model. Small setup slips cause most problems, and once you spot them, the process starts feeling easy again.
Recalibrate After Setup Changes
After you change a bottom bracket, swap a frame, move a spider, or replace a crank, you should recalibrate your power meter so it can relearn the bike it now lives on.
That post install recalibration matters because hardware change impacts can shift the zero point, even while everything looks snug and true. You don’t need to guess or feel awkward about it; plenty of riders miss this step initially.
Instead, park the bike still, wake the meter, and run the calibration in your app or head unit. Whenever your model supports auto zero, let it finish its check. Then verify the result before you roll out.
A quick recalibration helps you trust your numbers and ride with the crew without second guessing every watt.
Track Power Data Consistency Over Time
Regularly checking your power data helps you spot small changes before they turn into big training problems. You build trust in your numbers as you watch the same patterns week after week. Use data trend analysis to see whether your output, cadence, and fatigue stay steady across the season.
Then, observe any drift after travel, heat, or hard blocks, because your body and meter can both shift a little. As you keep clean records, season performance benchmarking feels less lonely and more like joining a team that knows your baseline.
You’ll notice as fitness rises, plateaus, or slips, and that clarity helps you stay calm and focused. Small checks, done often, keep your setup honest and your progress easy to believe.
Compare Power Data Across Rides
How do you know whether today’s power numbers really match last week’s, or whether a small shift is sneaking in? You compare rides with the same route, similar weather, and the same effort feel, then look for patterns that matter to your group, not just one lucky effort. Use ride comparison benchmarks so you can spot change without overthinking every watt. Try this:
- Match duration and terrain.
- Compare average power and normalized power.
- Observe cadence and heart rate together.
- Watch seasonal power trends across months.
When you stack rides this way, you see whether you’re building fitness, holding steady, or just riding harder on a windy day. That shared setting helps you feel grounded, like your numbers belong to a bigger story you’re already writing.
Keep Your Power Readings Accurate
Usually, the best way to keep your power readings honest is to start with a clean setup before you even ride. You want the bike still, the cranks set vertical, and the meter paired with your head unit or app. Then run a zero offset or calibration, and wait for the success message.
This quick habit keeps your data tied to the real effort in your legs, not a random offset. Next, watch for temperature drift, since cold garages and sunny roads can nudge numbers around. Also, check battery health often, because a weak battery can make readings act shy and jumpy.
Should you update firmware or change parts, calibrate again. With that routine, you’ll keep your numbers steady and feel right at home with your ride.
Frequently Asked Questions
How Do I Know if My Power Meter Firmware Needs Updating?
Check your app update alerts and compare your current version with the firmware release notes. If the app says an update is available, install it so your meter stays in sync with the team.
Should I Calibrate Left and Right Sides Separately?
Yes, if you have a dual sided meter, calibrate each side separately so you can check left right offset and sided power balance. This helps you get steadier, truer readings and more confidence on every ride.
What Does a Successful Calibration Message Look Like?
You’ll usually see a calibration confirmation such as “Calibration Successful,” “Zero Offset Saved,” or “Successful Pairing.” Once that appears, you can be confident your power meter is ready, connected, and delivering accurate ride data.
How Often Should I Recalibrate After Temperature Changes?
Recalibrate when temperature shifts enough to move your readings, especially before a ride if the weather or conditions have changed. That keeps your measurements aligned with the group and makes your data more dependable.
Does a Spider-Based Power Meter Need Manual Zeroing?
No, you usually do not need manual zeroing because a spider based power meter handles spider zeroing automatically. Still, check torque offset before rides and after hardware changes so you can trust your numbers.