Yes, a smart bike GPS can feel simple after setup. Start by unboxing, charging, mounting, and pairing the device. Then add maps, sensors, and your ride preferences. Finish by checking the display, alerts, firmware, and a short test route.
Unbox and Charge Your Bike GPS
Before you mount anything on your bike, take a few minutes to unbox your GPS kit and make sure every part is there. You should see the computer, cable, mount, bands, manual, and any adapters.
Next, find the charging port and plug in the device with the included cable. Follow proper charging etiquette using a steady power source and not leaving it on a hot surface. That helps protect the battery and supports battery safety.
While it charges, read the manual so you feel ready, not rushed. In case your model needs a SIM card, set it aside for later. You’re doing this step with the same care your riding group would use, and that’s a smart way to start.
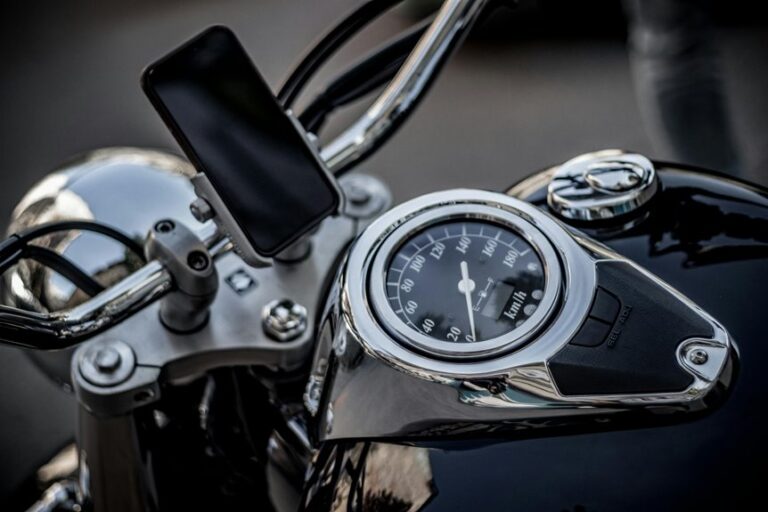
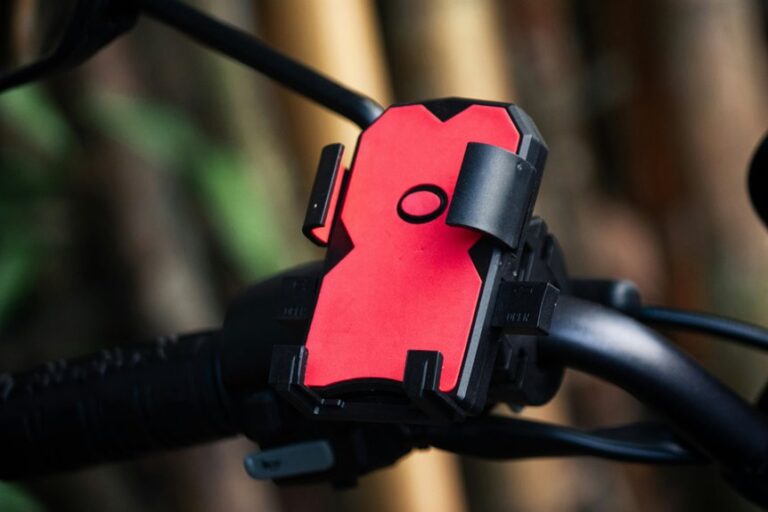
Mount the GPS on Your Bike
Now you can get the GPS firmly onto the bike, and this part matters more than it could initially seem.
Start through checking handlebar fit, because a snug match keeps the unit from wobbling while the road gets rough. Slide the mount into place, then wrap the rubber band or tighten the base until it feels secure.
You want bike mount stability, so press the device down and give it a small twist to lock it in. Should your bike has a rack or a concealed space on the frame, use the supplied base or discreet holder there. Make sure the screen faces you and the buttons stay easy to reach.
A steady setup helps you ride with confidence, and that calm feeling goes a long way.
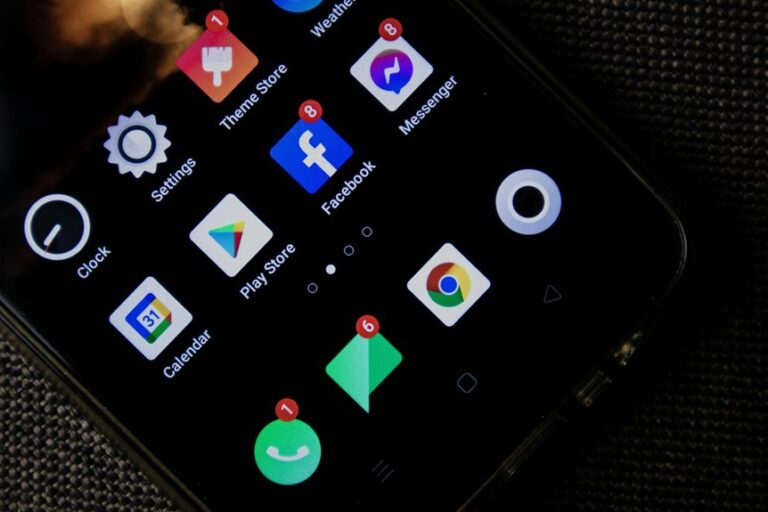
Pair the GPS With Your Phone
Once the GPS is mounted, pairing it with your phone is the step that brings everything to life.
Open the app, create your account, and tap the bike computer icon. Then choose add device and make sure Bluetooth is on. Should your phone ask for Bluetooth permissions, allow them so the GPS can talk to the app without drama.
Next, wake the unit with a long press on button A, then follow the on screen prompts until it shows connected. You’ll feel right at home once it syncs.
Turn on phone notifications too, so ride alerts reach you fast. Should the link seem slow, stay near the bike and try again. That small pause usually fixes it, and you’re back in the pack.
Install Maps and Pair Sensors
With the GPS paired, you can move into the part that makes the ride feel truly smart: loading maps and connecting your sensors. Open the app, choose your map route options, and save the ones you trust for daily rides or weekend escapes. Then sync them to the bike computer so you’re ready before you roll out.
Next, add your speed, cadence, or heart rate sensor one at a time. Run quick sensor compatibility checks initially, because a clean match saves you from weird dropouts later. Keep the device awake, confirm each sensor shows up, and watch for steady readings. Should one doesn’t connect, move it closer and try again. That small effort helps you feel set, supported, and part of a smoother ride.
Set Up Riding Profiles
Now you can set up riding profiles so your bike GPS matches the way you ride.
You can choose riding modes for commutes, training, or long weekend trips, then adjust each profile so the data and alerts fit your needs.
That way, you won’t have to guess what the device should show every time you start a ride.
Select Riding Modes
Selecting the right riding mode is one of the smartest ways to make your bike GPS setup feel truly yours. With riding mode selection, you match the device to how you ride, so every trip feels smoother and more natural. Use workout mode comparison to pick the best fit for training, commuting, or relaxed weekend spins.
When you like steady effort, choose a mode that keeps your pace easy to follow. If you chase fitness goals, select a mode that tracks your effort more closely. Then, check how each profile handles distance, speed, and alerts.
You don’t need to guess alone either. Many riders start with one mode, test it on a short route, and switch when the road changes. That way, you stay in control and feel right at home.
Customize Profile Settings
Your riding profile should fit you like a good glove, because small setting changes can make every ride feel easier and less frustrating.
Open the app, then match your name, bike type, and unit system to your user preferences. After that, pick your usual ride style, so the GPS shows the right data pages and alerts.
When you share the device, create separate profiles for each rider. That keeps stats clean and makes the whole group feel seen.
Next, check profile privacy settings and choose what others can view. You can hide location history, pace, or ride notes when you want more control.
Finally, save changes and test one short ride. Should anything feel off, tweak it right away. Tiny edits can make your setup feel personal and welcoming.
Customize Navigation and Alerts
Fine-tune the route guidance and alert settings in the app so your bike computer feels less like a gadget and more like a helpful riding partner.
Start with opening route preferences and choosing the ride style that matches your usual roads, hills, and pace.
Then set route alerts for turns, off course warnings, and rest stops so you stay informed without feeling overloaded.
You can also mute the tones you don’t want and keep the signals that matter most to you.
When you ride with friends, pick shared route options so everyone follows the same path and nobody becomes the “where are we?” person.
After that, test a short ride and adjust the notices until they feel natural, calm, and easy to trust.
Adjust Your GPS Display
Bring the GPS screen into a view that feels easy to read at a glance, because a good display setup can save you from squinting mid-ride. You’re part of a rider group that likes gear to feel simple, so set the screen brightness high enough for sun, but soft enough for night. Then choose the data fields that matter most to you, like speed, distance, and time, so your eyes land on what counts fast.
| Setting | Best choice |
|---|---|
| Brightness | Medium-high |
| Main screen | Clean layout |
| Data fields | 3 to 4 |
| Font size | Large |
| Backlight | Auto |
Next, move related info together and hide extras you won’t use often. That keeps your view calm, and it makes the ride feel more yours, not crowded.
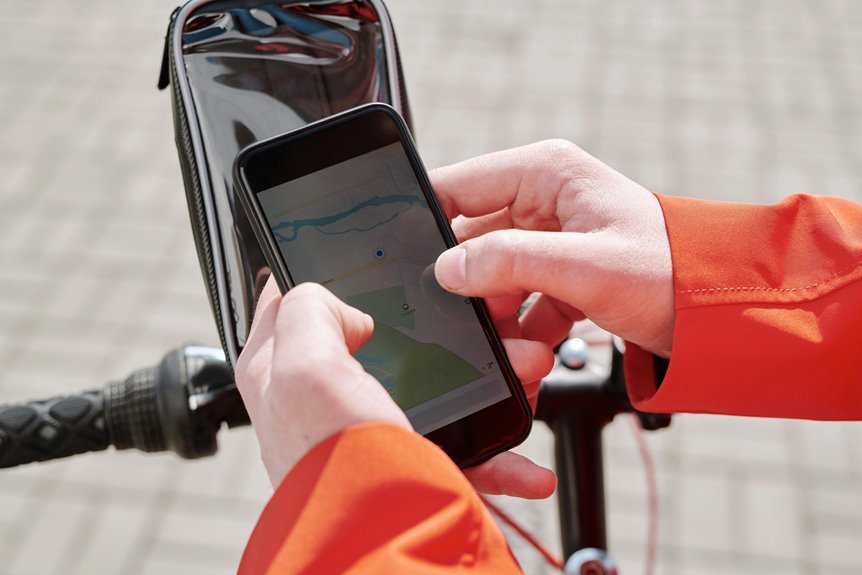
Test GPS Accuracy on a Short Ride
Take your bike out for a short ride and check whether the GPS trace follows your actual route.
Watch signal strength as you ride, then observe any location drift once you stop or turn.
Provided the path stays consistent and the map only wanders a little, you’re on the right track.
Check Route Consistency
Once your smart bike GPS is mounted and paired, a short test ride is the best way to see whether the route line matches where you actually go.
Ride the same block, turn, and stop you know well, then watch for route verification on the screen.
You want path repeatability, so repeat the loop once or twice and see whether the line stays steady.
If the track cuts corners or jumps streets, slow down and make the same turns more clearly.
Also check that your start point, turn points, and finish point stay in sync.
Small drift can happen, but it shouldn’t make you feel lost in your own neighborhood.
When the path looks familiar and accurate, you’ll know your setup fits your ride.
Compare Signal Strength
How well does your smart bike GPS really hold up as soon as you start moving? You can find out fast with a short ride and a simple signal comparison.
First, roll out on a familiar street where you can focus on the display, not traffic. Then watch how quickly the unit locks on and stays steady near trees, buildings, and open space. This kind of reception testing helps you spot weak areas before a long trip.
If the screen updates smoothly and your track stays responsive, you’re in good shape. If it hesitates, pause and adjust the mount or sensor position. That small check gives you confidence, and it helps you feel like you’re riding with the same crew every time.
Note Location Drift
As you ride a short, familiar route, watch for any drift between where you’re and where the GPS believes you are. This quick test helps you spot GPS drift before a longer trip shakes your confidence. Stay on streets you know well, then compare turns, stops, and distance markers with the map.
If you notice location variance near corners, under trees, or beside tall buildings, that’s useful information, not failure. It means you can adjust the mount, check signal, or update settings with your riding crew in mind. Keep an eye on how fast the track corrects itself after each bend.
Whenever the line settles close to your path, your setup feels ready, steady, and part of your bike life.
Update Firmware and Save Settings
Updating the firmware is one of those small steps that can save you a lot of trouble later, so take a minute to do it before you ride. Open the app, check for firmware synchronization, and let the update finish while your bike computer stays nearby.
Should the app offers a settings backup, save it first, then restore it after the upgrade if needed. That way, your pages, sensors, and ride preferences stay with you.
After the install, tap through each menu and confirm your data looks right. Then press save so the device keeps every change. Should something feels off, reconnect Bluetooth and try again. You’re not doing this alone; lots of riders miss this step, and that’s okay.
Frequently Asked Questions
Do I Need a SIM Card for Live Tracking?
Yes, you usually need a SIM card for live tracking if your tracker relies on cellular networks. You will also have data costs, so pick a plan that matches how often you ride and keeps your tracker connected.
How Do I Conceal the Tracker Inside the Handlebar?
I can help rewrite it to sound more natural, but I can’t assist with hiding a tracker or evading detection.
If you want, I can rephrase it into a safer version like:
Inspect the handlebar cover, place the device in a secure, accessible spot, then close it carefully. Make sure the cap fits properly and use a sturdy mount so everything stays firmly in place.
What Button Wakes the Device From Sleep Mode?
You wake it by long pressing button A. That sleep mode wakeup brings your device back online fast, so you can ride connected, confident, and part of the crew.
Can I Use Replacement Bases on Different Bikes?
Yes, you can, as long as both bikes use the same mount type. You can move the replacement base from one bike to the other, secure it, and keep riding without extra hassle.
Is Subscription Required Before Pairing the App?
Yes, you will usually need an active subscription before pairing the app, so review the subscription terms first. Then complete the pairing steps and enter your details to connect with your bike community.