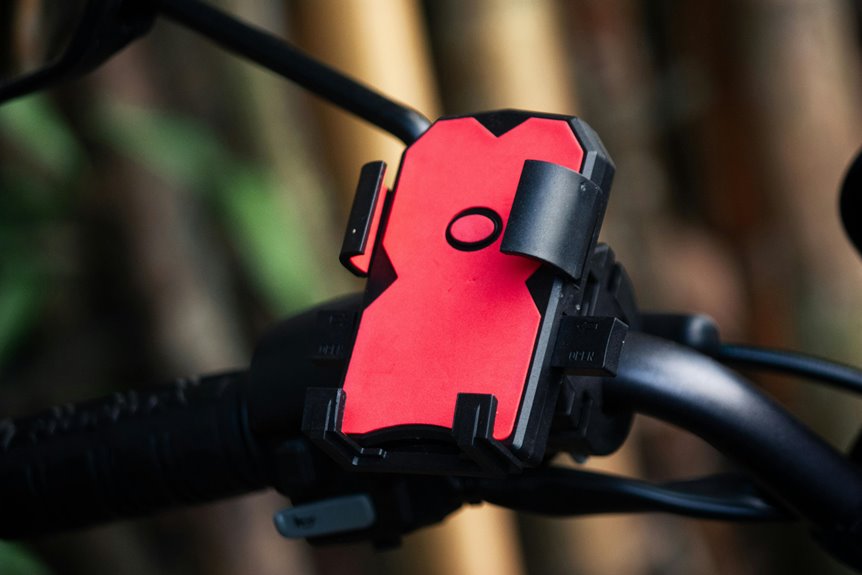

A good bike phone mount angle keeps your screen easy to read and your ride smoother. A small tilt can cut glare right away. A higher position can make your map easier to glance at. A tighter clamp can reduce shake and keep your setup steady.
Why Proper Mount Alignment Matters
When your bike phone mount sits in the right spot, everything feels easier and safer. You can trust your phone to stay put while you ride, and that peace of mind matters. Good alignment supports mount security because it reduces wobble, slipping, and stress on the clamp.
It also improves installation compatibility, so your setup fits your bar, stem, or case without awkward pressure. If the mount matches your bike and phone well, you feel more settled and less distracted. That helps you check maps, track rides, and stay connected without second-guessing the gear.
In a group ride or solo spin, you deserve equipment that feels like part of your bike, not a loose afterthought.
Find the Best Phone Mount Viewing Angle
You want your phone tilted just enough to read fast without bending your neck or losing focus on the road.
Keep the handlebar height in mind, because a mount that sits too high or too low can make every glance feel awkward.
Then check for glare from the sun and tweak the angle until the screen stays clear and easy to scan.
Optimal Screen Tilt
How far should you tilt your phone mount for the clearest ride view? You want a slight upward tilt, so your eyes catch the screen fast without strain. Start with tilt calibration by aiming the top edge toward your face, then fine-tune until glare drops. A small screen cant usually works best on smooth roads, while rough paths might need a touch more angle.
- Set the phone so icons stay readable in one quick glance.
- Check that reflections don’t wash out your map.
- Make sure your hand can still reach the screen easily.
- Test the angle on a short ride, then adjust again.
When you ride with others, that shared comfort matters too. You’re not just mounting a phone; you’re joining a setup that feels steady and welcoming.
Handlebar Height Balance
A good handlebar height can make your phone feel like it belongs there, not like it’s fighting your ride.
You’ll want bar height balance that lets your eyes drop quickly while your hands stay relaxed.
If the bars sit too low, you may hunch and feel cramped.
If they sit too high, the screen can drift away from your natural line of sight.
Aim for cockpit ergonomics that keep your shoulders loose and your neck calm.
Then test the mount with your normal grip, because your posture changes when you ride hard, climb, or cruise.
A small rise or drop can improve how the phone sits, and that steadier setup helps you feel more at home on the bike, not like a guest.
Glare-Free Angle Check
Oddly enough, the best phone mount angle is often the one that feels almost invisible. You want your screen easy to read, yet not shouting for attention. Tilt the phone just enough to cut sunlight reflection and keep your eyes on the road.
Should you ride with an anti glare film, you’ll notice the display stays calmer, but angle still matters.
- Shift the mount a few degrees left or right.
- Raise it until shadows stop washing out the map.
- Test it at noon and again near sunset.
- Lock the position once your view feels natural.
That tiny adjustment helps you feel in sync with other riders too, because your setup looks clean and shared, not awkward or fussy.
Position the Screen for Quick Glances
From the center of your bike, the screen should sit where you can catch it with a quick glance, not a full head turn.
That screen glance placement helps you stay connected to the road and to your ride group. Aim for quick view positioning that lets your eyes land on maps, speed, or alerts in a second, then return forward.
You want the display close enough to read, but not so close that it steals your focus.
When you ride with friends, this setup helps you keep pace without feeling left out of the flow.
A centered, easy-to-scan screen can make every ride feel calmer and more in sync.
Keep the display readable, steady, and ready for those tiny checks.
Set the Right Mount Height and Reach
Once you’ve found the best screen position, the next step is to set the mount height and reach so your phone sits naturally in your line of sight. You want it close enough to read fast, but not so close that it crowds your cockpit. Whenever you get this balance right, you ride with more ease and feel part of a setup that fits you.
- Start with mount height just above the bars for a calm, centered view.
- Use reach adjustment to bring the phone toward you without stretching.
- Test your posture while holding the grips, then fine-tune the angle.
- Keep the phone clear of your knees, hands, and cables.
A small change can make your ride feel more connected and less awkward.
Reduce Glare on Your Phone Screen
A bright screen can still be hard to read when glare washes it out, so you want to set your phone mount with light in mind, not just angle.
You’ll feel more at ease whenever you can check maps without squinting.
Initially, face the screen a little away from direct sun, then tilt it until reflections slide off the glass.
Whenever your case supports it, choose anti glare coatings or a matte protector to soften harsh shine.
Also, adjust screen brightness so it stays clear, but not so bright that it blinds you at dusk.
When you ride through changing light, small tweaks help a lot.
That way, your setup feels made for you, and your view stays clean, calm, and easy.
Secure the Phone on Rough Roads
When the road gets rough, you need a mount that grips hard and stays put. Choose grippy mount materials that hold your phone steady, even when the bike starts shaking.
Add vibration-dampening straps to soften the bumps and help keep your screen easy to read.
Grippy Mount Materials
- Choose textured pads for extra hold.
- Check that the clamp feels snug, not crushing.
- Wipe dust off both contact points often.
- Match the material to your road or gravel route.
When the materials fit your bike and phone, you get a cleaner cockpit and a more confident ride.
Vibration-Dampening Straps
Even with a grippy mount, rough roads can still shake your phone loose, so vibration-dampening straps add that extra layer of calm you want on bumpy rides. You stay part of the ride instead of worrying about every pothole.
Choose straps with enough strap elasticity to hug the phone without squeezing the buttons or camera. Then let the strap work with the mount to create shock isolation, which softens buzz from washboard pavement and cracked bike paths.
For the best fit, center the phone, pull the strap snug, and check that it doesn’t twist during a quick shake test. Whenever you set it up well, your screen stays readable, your gear feels dependable, and you can ride with the easy confidence that fits your crew.
Fit the Mount Around Your Bars and Stem
Around the bars and stem, your mount should feel like it belongs there, not like it was squeezed in as an afterthought. You want a snug bar clamp fit, then a quick stem clearance check so cables, spacers, and caps stay free. Whenever the mount sits right, your phone feels welcomed, not wobbly.
- Center the clamp on a clean section of bar.
- Tighten it evenly so one side doesn’t bite harder.
- Leave room for brake and shift cables.
- Test the stem area for head tube and cap space.
After that, give the mount a small shake. Provided that it stays quiet, you’ve got a cockpit that feels solid and familiar. That calm fit helps you ride with ease, and your phone can stay where you expect it.
Match Mount Placement to Your Riding Style
If you ride in a steady, road-focused way, a stem or out-front mount usually feels best because it keeps your phone centered and easy to read without pulling your eyes far off the road. For riding style matching, consider how you move, where you ride, and what you check most. Your mount type choices should fit that rhythm, so you feel part of your bike, not stuck fighting it.
| Ride Style | Best Mount | Why It Fits |
|---|---|---|
| Road | Stem | Clean and centered |
| Gravel | Out-front | Better sight line |
| Commuting | Handlebar | Easy daily use |
| E-bike | Universal | Flexible fit |
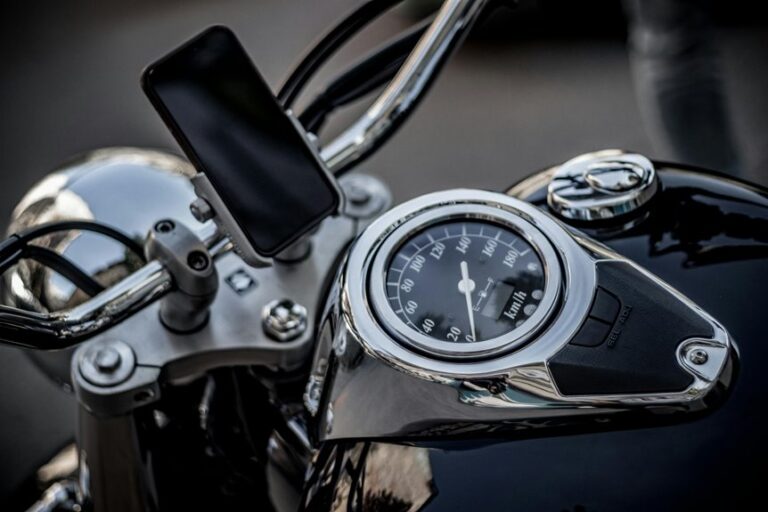
| Rough paths | Motorcycle-style | Extra steady feel |
When you match the mount to your habits, your setup feels natural, and your screen stays useful.
Improve Touch Access Without Wobble
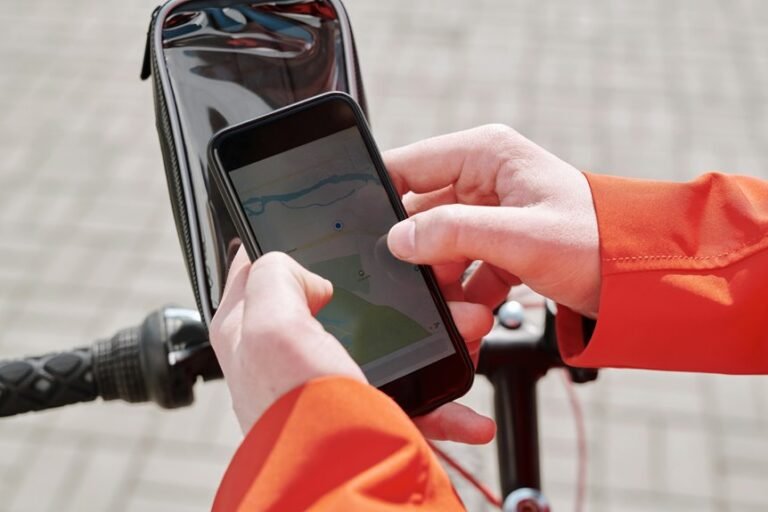
Now that you’ve matched the mount to your riding style, the next step is making it easy to tap, swipe, and glance at your phone without the setup shaking itself loose. You want touch accuracy, and you want screen responsiveness, but you also want the calm confidence that comes from a solid hold. Once your mount wobbles, every tap feels off and every swipe gets messy, which gets annoying fast.
- Center the phone on the clamp so pressure stays even.
- Tighten every joint until it stops shifting.
- Use a case with a flat back for better grip.
- Test taps while standing still, then roll slowly.
That way, you stay connected with your crew and keep your ride smooth.
Check Visibility From Your Riding Position
Your best mount spot should let you see the screen without feeling like you have to crane your neck or shift your whole riding posture. Sit on the bike first, then check the phone from your usual ride posture.
Provided you can read maps, speed, and calls with a quick glance, you’ve found a strong position. Keep the display within your natural line of sight so your eyes stay on the road and your body stays relaxed.
That setup improves cockpit comfort because you won’t fight the mount every time you check it. Try a few angles, then ride a short stretch and notice what feels easy.
You want clear viewing, steady focus, and a setup that feels like it belongs on your bike.
Fix Common Phone Mount Alignment Problems
Loose alignment can turn a good phone mount into a constant nuisance, but most issues are easy to fix once you know what to look for. You’re not stuck with a crooked screen or a shaky fit. Start with these checks:
- Shift adapter placement so the phone sits near its center of gravity.
- Match case compatibility to the mount, especially when the case is thick or curved.
- Tighten the clamp evenly so one side doesn’t pull the phone off line.
- Set the angle once, then lock it before the next ride.
When the screen still feels off, move the phone a little higher or lower on the cradle. Small changes can make the view feel natural again, and that’s what keeps you riding with confidence.
Recheck Your Setup Before Every Ride
Before you roll out, give your phone mount a quick once-over so it stays put as soon as the road gets rough.
Check that the mount feels tight and that nothing has shifted since your last ride.
Then look at the screen angle to make sure you can read it easily without tilting your head or losing sight of the road.
Inspect Mount Tightness
Even the best bike phone mount can work loose after a few rides, so a quick tightness check should become part of your routine. You belong on the road with gear you trust, and a steady mount helps you feel calm and ready.
Do a tightness inspection before every ride and make a mount hardware check part of your pre-roll habit.
- Grip the mount and wiggle it gently.
- Check every screw, clamp, and strap for firm contact.
- Tighten anything that shifts, but don’t force it.
- Test the phone holder after adjustments.
A few seconds now can save a shaky ride later. Whenever your mount stays snug, you can focus on the ride, not the rattle.
Confirm Screen Angle
Once you start your ride, a quick screen angle check can save you from a lot of squinting and neck strain.
You want the display to sit where your eyes land naturally, so tweak the mount before you roll. Check your angle calibration while the bike is still, then glance at the road position and confirm the view feels calm, not awkward. Provided your mount has orientation lock, set it firmly so the screen won’t drift on bumps.
A small tilt can make maps brighter and easier to read, especially with sun or shade changes. Before every ride, give it one last look. That habit keeps you in the group, confident, and ready to follow the route without fiddling mid-ride.
Frequently Asked Questions
Which Mount Type Works Best for My Bike and Phone?
An out front mount works well for road or gravel riding, a handlebar mount offers the most flexibility, and a stem mount keeps the cockpit clean. Start by checking bike fit and making sure your phone case fits the mount.
Can I Still Use Wireless Charging With a Bike Mount?
Yes, you can, as long as your mount and phone support wireless charging and the charging pad stays properly aligned. You’ll be able to ride with a charged phone if the clamp does not cover the coil.
Are Twist-Lock Mounts More Secure Than Magnetic-Only Mounts?
Yes. Twist-lock mounts are usually more secure than magnetic-only mounts. They resist vibration better and make theft harder, so your phone feels firmly fastened instead of simply held in place.
How Do I Prevent Camera Bump Interference With the Adapter?
Choose adapter spacing that lifts the mount clear of the camera bump, then place it on a flat section of the case for proper clearance. This helps create a secure fit.
Should I Choose a Handlebar, Stem, or Out-Front Mount?
Choose a stem mount if you want your phone centered and easier to read on the bike. Pick a handlebar mount for more placement options, or an out front mount for a cleaner setup on road rides and better visibility in a group.