
Place your bike lights where they can do the most good: front light aimed at the road, rear light set high and clear. Keep the front beam pointed slightly downward so it lights your path without blinding drivers. Put the rear light where bags, racks, or fenders won’t block it. A small adjustment in height or angle can make you far easier to spot.
Where Should You Mount Bike Lights?
So, where should you mount bike lights? You’ll get the best fit when you match each light to its job and your ride. Put a white front light on the bars, and keep it steady so it points where you steer. Place a red rear light on the seatpost, a little high, so drivers can spot you fast. For side safety, use wraparound lights on the frame or wheels. A helmet light can help too, but keep it small and focused. Check bike light legality in your area so you stay street-ready.
Then do simple battery maintenance through charging often and cleaning contacts. Whenever your setup feels secure, you’ll ride with more confidence, and your bike will shine like part of the crew.
Mount the Front Light for Better Visibility
Up front, your bike light does most of the heavy lifting, so its placement matters more than you might picture. Mount it on your handlebars, centered and snug, so you get steady handlebar glow and a clean beam focus. Whenever you angle it too high, you’ll annoy others; too low, and you’ll miss the road. Aim the beam about 10 steps ahead for city rides, then tilt it a bit farther for dark paths. | Spot | Best Choice | Why |
| — | — | — |
|---|---|---|
| Bar center | Forward | Stable aim |
| Beam angle | Slight down | Less glare |
| Brightness | 200 to 500 lumens | Clear city view |
That setup helps you feel like part of the riding crowd, not the rider everybody squints at. Use a secure mount, check it often, and keep your line sharp.
Position the Rear Light to Stand Out
From the back of your bike, the rear light does a quiet but important job: it tells drivers where you’re and helps them judge your distance.
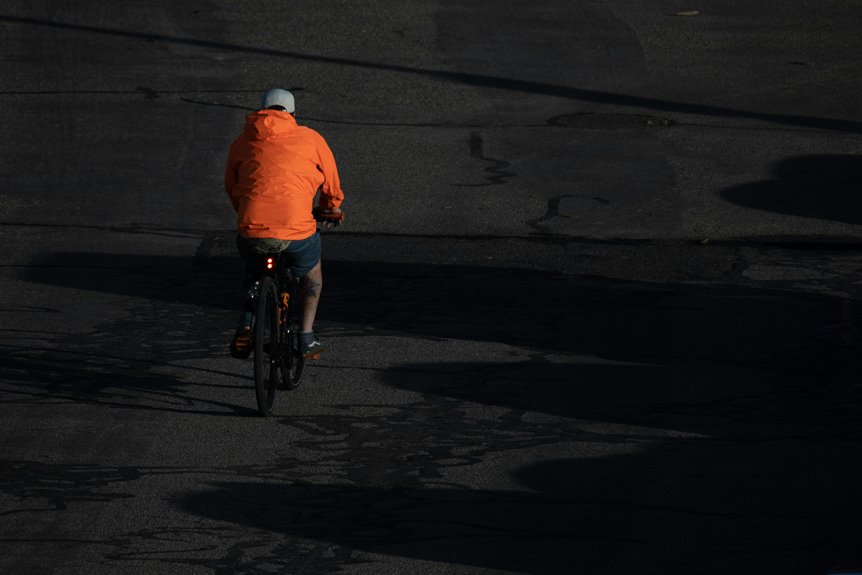
You’ll stand out more whenever you mount it on the seatpost and keep it above bags or fenders. Choose a red beam with strong light color contrast, so it cuts through traffic and dusk. A wide flash pattern can help cars spot you from the side, too. Pair it with reflective clothing accents on your ankles, jacket, or pack, and you’ll create a brighter outline without shouting for attention. That mix helps you feel part of the road crowd, not lost in it. Check that nothing blocks the lens, because a clear view gives your light its best chance to work.
Set the Right Light Angle and Height
When you set your bike light at the right angle and height, you make the road easier to read and you make yourself easier to see. You also help other riders and drivers feel calmer around you, which builds that shared road respect we all want. Start with light beam calibration by aiming the front beam a little below eye level. That keeps the path bright without throwing glare.
Next, make small mounting angle tweaks until the light reaches far enough ahead for quick stops and turn cues. Keep the light high enough to show bumps, but not so high that it wastes power in the sky. When the beam looks harsh on signs, lower it a touch. A steady setup helps you ride with confidence.
Choose the Best Mounting Spots
You’ll get the best bike light setup once you place the front light on your handlebars where it can shine straight ahead without being blocked.
For the rear light, the seatpost usually gives you a higher, cleaner spot that helps drivers notice you sooner.
Once you choose these mounting spots, you can fine-tune the beam so your ride feels safer and smoother.
Handlebar Visibility
For strong handlebar visibility, start with the front light in the center or just off-center on the handlebars, where it can throw a clean beam straight ahead without getting obstructed by bags, bells, or cables.
You’ll get a friendlier, steadier view of the road, and your handlebar beam direction stays easy to fine-tune.
Keep the light low enough to light the path, but high enough to avoid glare from your front tire.
Then check handlebar clamp security, because a loose mount can wobble on rough streets and break your rhythm.
Should you share the bars with a phone or bell, leave each item its own space so everything feels neat and reachable.
That little setup helps you ride with confidence, like you belong out there.
Seatpost Placement
After getting the handlebar light set just right, it makes sense to look at the seatpost next, because your rear light needs a spot that keeps it high, steady, and easy to see. You want the mount centered on the post, so the beam stays level with traffic. Check the seatpost angle before you tighten it, because even a small tilt can aim the light too high or too low.
Next, leave enough seatpost clearance for your saddle bag, rear wheel, and bouncing over potholes. Then test the light from behind while a friend stands back, or use a mirror. Whenever your bike has a slim post, choose a grippy strap mount. That way, you fit in with the riders who stay visible and confident.
Adjust Placement for Day and Night Riding
As light fades, your bike light setup should shift with it, because the same position that works in bright city streets may not work on a dark road. In day mode, keep your white front light a little lower and your red rear light higher so cars notice you fast. In night mode, tilt the front beam farther ahead for your path and keep the rear light level for steady visibility. You and your riding crew can use this simple check:
| Time | Placement |
|---|---|
| Day mode | Bright, high rear light |
| Dusk | Balanced front and rear |
| Night mode | Forward-aimed front beam |
| Busy roads | Wider side spread |
Small changes help you blend in with the rhythm of the road, and that feels good.
Avoid Common Bike Light Mistakes
Many riders make the same light setup mistakes, and the positive news is that they’re easy to fix once you know what to watch for. You could aim your front beam too high, which can bother others and waste your own reach. You could also hide your rear light behind a bag or jacket, so it can’t do its job.
Keep both lights clean, because light maintenance helps you stay seen longer. Check battery management too, so you don’t start a ride with a weak charge. Then make sure your mounts stay tight, since loose gear shifts fast. Finally, choose steady spacing between lights and your body, so your setup feels clear, safe, and part of the group on every ride.
Test Your Setup on the Road
Once your lights are mounted, take the bike out for a real ride and check how they behave in motion. Start on a quiet street, then try the same route with traffic, turns, and bumps. Watch your beam on the road, and make a quick visibility check from a curb or driveway.
If the front light feels too high, tilt it down a bit. If the rear light gets blocked by your bag or jacket, move it up. Then ask a friend for road feedback, since another rider can spot glare or blind spots fast. Ride at dusk too, because that’s the time weak setups show their limits.
Small changes can make you feel safer, and they help you fit in with riders who look out for each other.
Frequently Asked Questions
How Do Helmet Lights Affect Overall Visibility?
Helmet lights can improve your visibility, though too much brightness can cause glare on the helmet. Positioned at eye level, they help you stand out and make it easier for others to spot you from different angles.
Which Light Patterns Improve Side Visibility Best?
Side flash patterns and lateral pulse modes improve side visibility best because they send light outward, draw drivers’ eyes, and make you easier to spot from the side. They help you stay visible, feel more confident, and stand out in traffic.
What Lumens Work for Different Riding Conditions?
For city commutes, 200 to 500 lumens is usually enough, while dark roads and off road trails often need 800 lumens or more. Choose the brightness that fits your route and lighting conditions so you can ride safely with your group.
How Often Should Bike Light Mounts Be Checked?
Check your bike light mounts once a week, and after any rough ride. During each inspection, look for vibration wear, looseness, or cracks so your lights stay secure and you stay visible on every ride.
Can Quick-Release Mounts Affect Beam Stability?
Yes, quick-release mounts can affect beam stability if the clamp is not tightened properly. You can improve steadiness by using vibration damping and checking the fit regularly, which helps keep the light secure and visible.